Custom ErgoDox iOS Keyboard
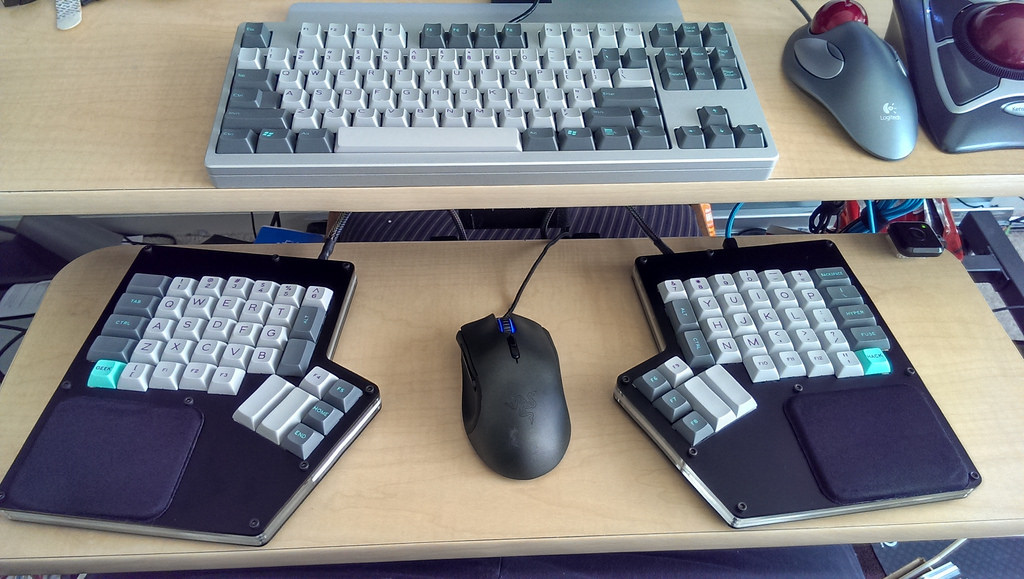
The ErgoDox Ergonomic Keyboard is unlike many keyboards you may be used to. Between its durable and customizable build, programmatic ability, and split personality, it truly has so much to offer any and all typists. The most intriguing feature of the keyboard is the layout. Setting aside all the things that make it great, the ErgoDox can still be considered a novel input device with the layout alone. Allowing for extra keys to be hit where they’re most convenient and the ortholinear nature of it makes for one of the greatest typing experiences ever.
Although the unique keyboard relies on human hands resting on its paw-shaped imprint, it’d be fun to have a similar style on our mobile devices. Sure, there are specially shaped keyboard apps for iOS that optimize for your fingers, but none that are simply a fun homage to a mechanical keyboard enthusiast favorite.
When Apple first announced they were allowing third-party keyboards, I was one of the first to hop on board. It was easily my favorite update to iOS that year. People were daunted when they realized the process of building a keyboard was extensive and that there was little provided by Apple to get started. What’s required is essentially building an entire keyboard from scratch, and then whatever special functionality you want on top of that.
Open Xcode
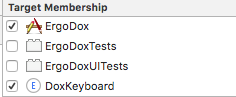
After you create a new project, head right over to File > New > Target… and choose Custom Keyboard Extension.
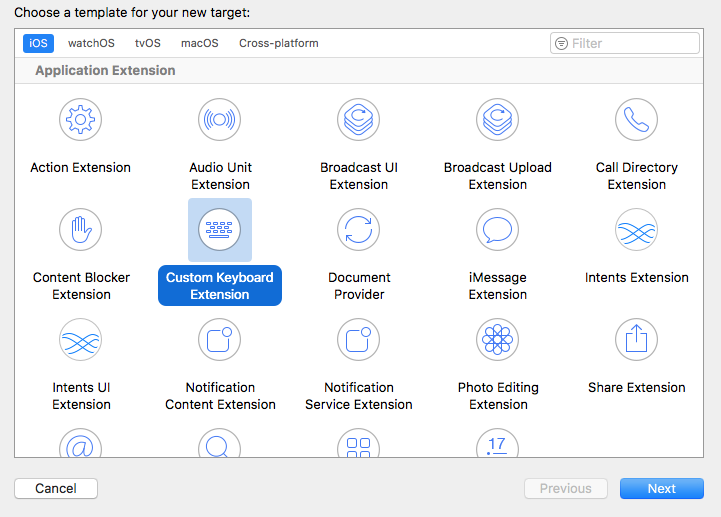
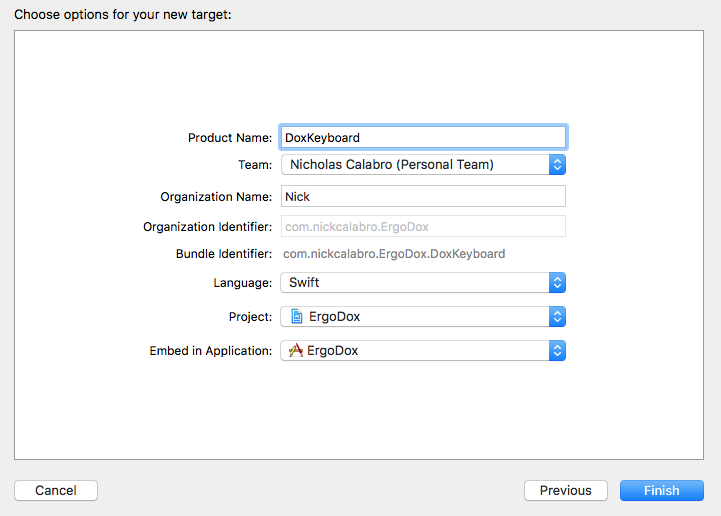
You’ll want to make sure the Product Name is different than the currently encompassing project name.
If you’re asked to active the scheme simply allow it.
Now add a Storyboard file using CMD+N, scrolling to User Interface and choosing the Storyboard option. Name it something unique like DoxStoryboard, and create.
Jump to the target’s info.plist file and under NSExtension, remove the NSExtensionPrincipalClass key. Add a new key under NSExtension titled NSExtensionMainStoryboard with the value DoxStoryboard or whatever you named the Storyboard file we created above.
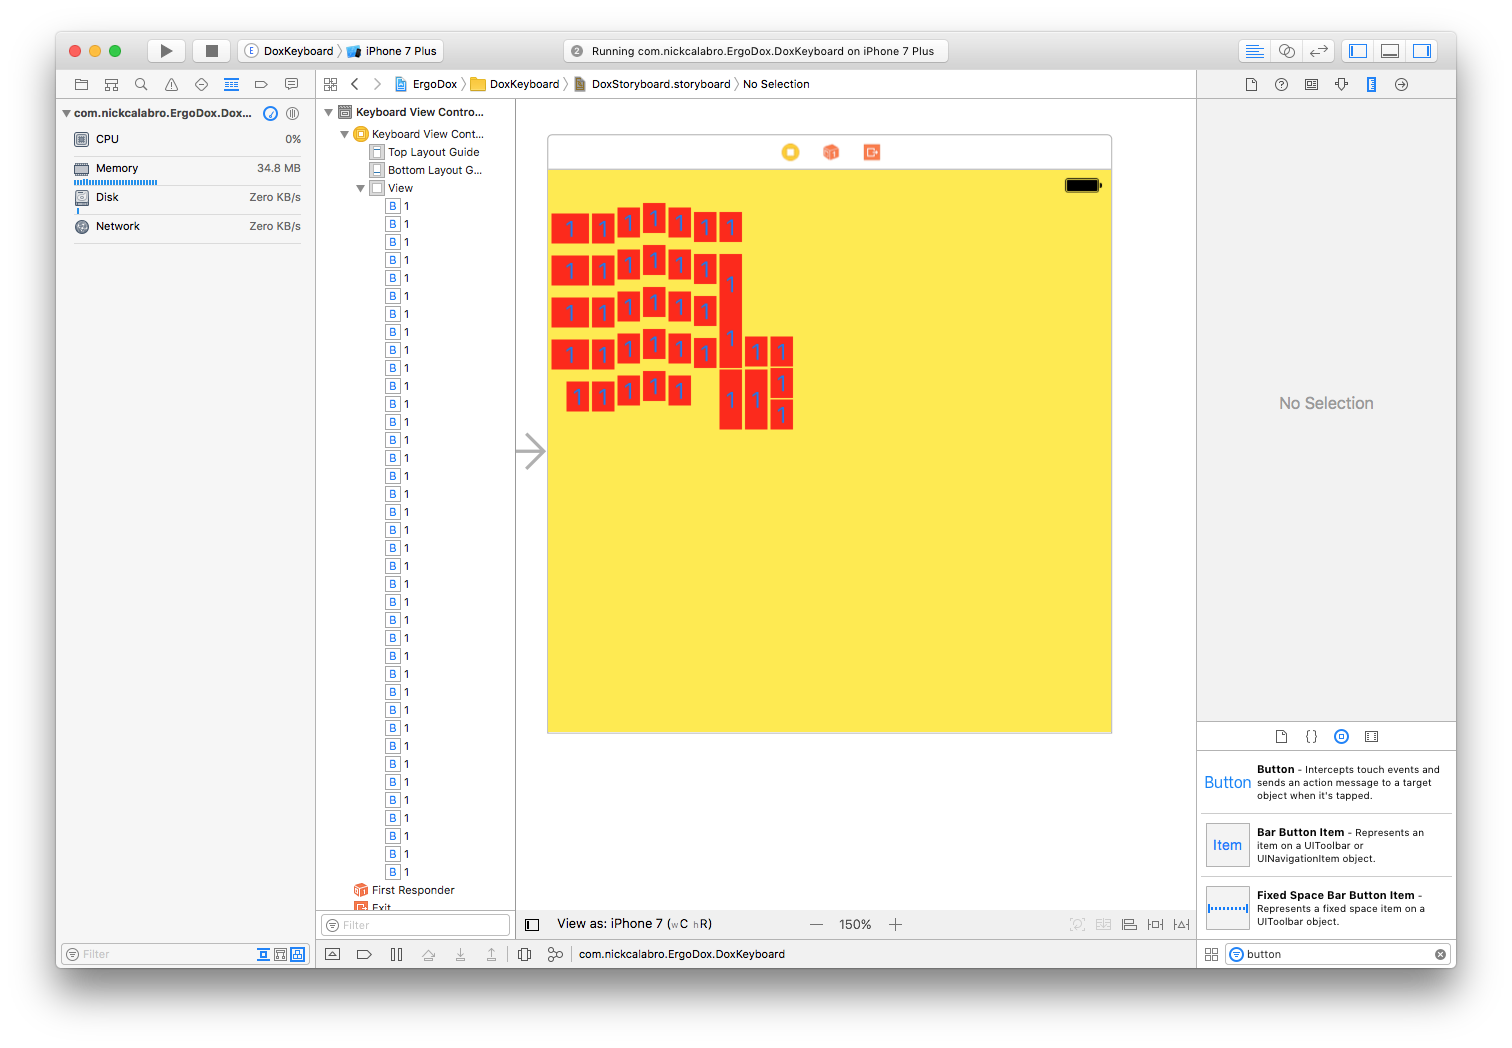
Navigate to your DoxStoryboard.storyboard and drag a View Controller element on the canvas. Since we’re working with storyboards instead of xibs, it may take the shape of an iPhone sized rectangle. With the view controller selected, navigate to the Size Inspector, change the Simulated Size to Freeform and modify the height and width. I have mine at 375x375. In the Attributes Inspector be sure to select Is Initial View Controller.
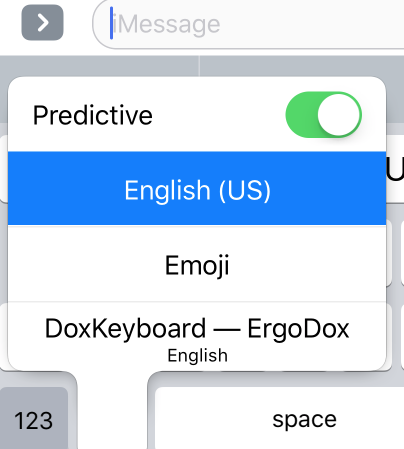
At this point, we can go ahead and run our application. When navigating to Settings > General > Keyboard > Keyboards > Add New Keyboard… we’ll see our custom board ready to be added.

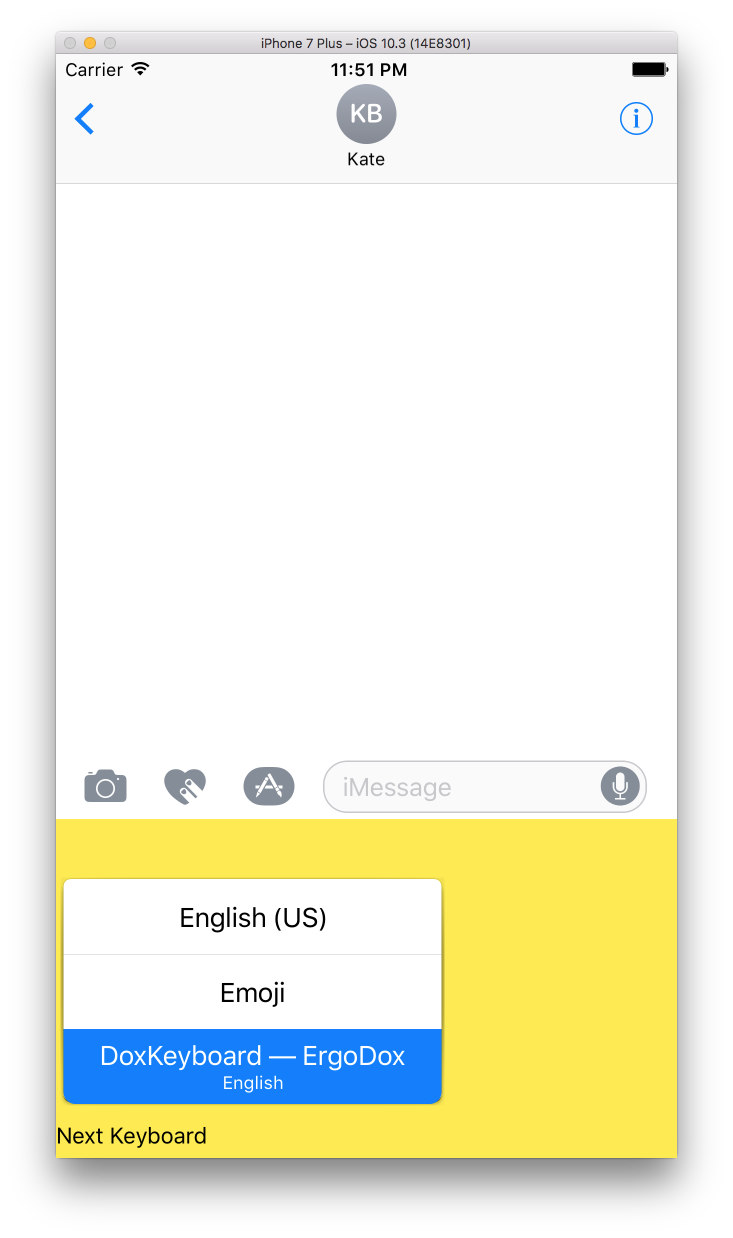
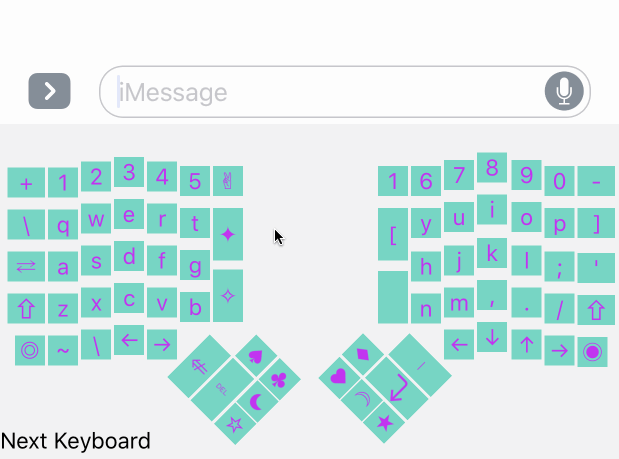
To demonstrate more clearly your keyboard in use after enabling it, changing the background color of the storyboard to something garish can assist with providing some instant gratification. Linking the KeyboardViewController class to the view controller will also provide some free functionality with the Next Keyboard button as you can see here.
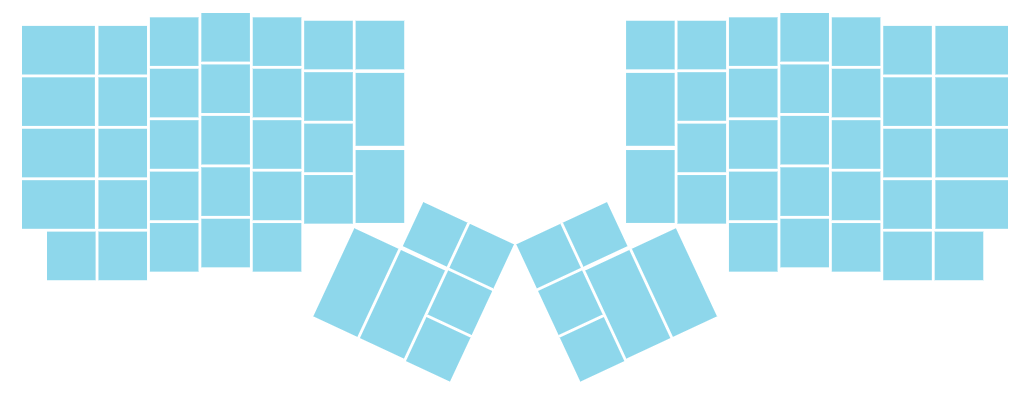
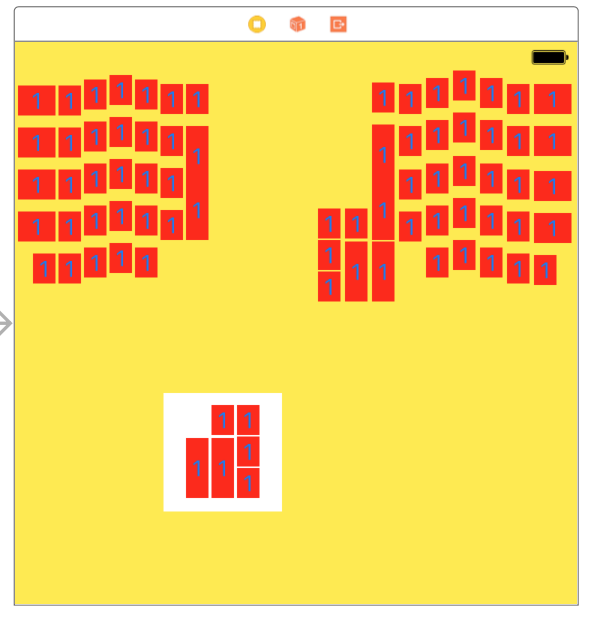
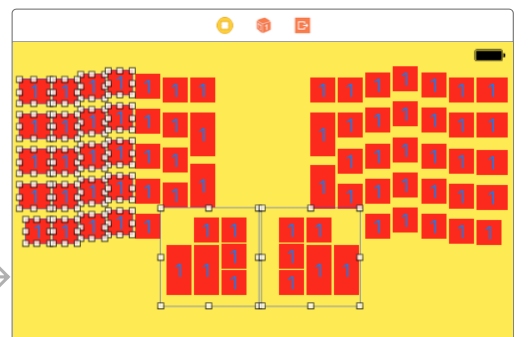
Now that we have everything connected, up, and running we can enjoy the fun part. Looking at the ErgoDox Layout, we can see there’s some unique placement, slightly staggering, and many sizes and orientations to consider.
If you’ve ever played with views and buttons inside Xcode’s Storyboards you’ll enjoy this because that’s just what needs to be done.
Once you’ve monotonously and meticulously placed each key in its proper location, there’s some rotation magic that has to be done in code to get our thumb buttons to act correctly.
Each thumb cluster should be in it’s own square-shaped view. Here, we’ll call them leftThumbView and rightThumbView. Connect those outlets, be sure these buttons are on top of the view, and configure the view with something along the lines of this:
self.leftThumbView.transform = self.leftThumbView.transform.rotated(by: CGFloat(M_PI_2/2))
This will get the cluster to rotate as soon as the keyboard loads to give the the effect of the lovely hand-shaped keyboard.
 I figured to hew to the same cool and calm colors for the duration of the keyboard creation.
Typing
Now that the layout is out of the way we have to get to some actual functionality. There are many ways to go about programming the keyboard and getting the input/output to perform as expected. A popular method is to read whatever the label of the key is and spit that out. Although this is quick and dirty, when we have such a customizable keyboard like this it’s pretty hard to hardcode such generic functionality. We’ll go with this approach for some of the keyboard like so:

By having the glyph as the button’s text, we can extract that and have that input with some simple actions:
@IBAction func actuation(sender: UIButton!) {
        let typedChar = sender.titleLabel?.text
        let proxy = textDocumentProxy as UITextDocumentProxy
        proxy.insertText(typedChar!)
}
Connect this action to most of your keys.
The space bar is much simpler to implement since we only need to insert a nearly empty string " ". Be sure to connect this as well.
@IBAction func spaceActuate() {
        let proxy = textDocumentProxy as UITextDocumentProxy
        proxy.insertText(" ")
}
Although the power of the ErgoDox is essentially unlimited, the powers of the third-party keyboard tools Apple provides are not unlimited. There are some really interesting things we can do with this, but we’ll cover only the essentials for now and get to deleting and navigating.
Apple has done a swell job of making the basics of keyboard creating fairly simple. The next methods used to delete, hide the keyboard, and navigate the insertion point are self-explanatory:
@IBAction func hideBoard() {
        dismissKeyboard()
}

@IBAction func delete() {
        let proxy = textDocumentProxy as UITextDocumentProxy
        proxy.deleteBackward()
}

@IBAction func moveRight() {
        let proxy = textDocumentProxy as UITextDocumentProxy
        proxy.adjustTextPosition(byCharacterOffset: 1)
}

@IBAction func moveLeft() {
        let proxy = textDocumentProxy as UITextDocumentProxy
        proxy.adjustTextPosition(byCharacterOffset: -1)
}
The Real Ergo
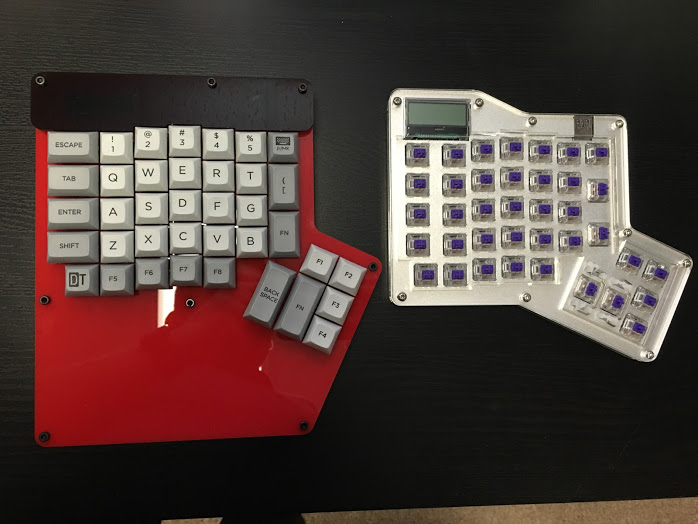
Well done. Our ErgoDox for iOS is in a fine place and now it’s time to get to real keyboards. You can view my real programmable ErgoDox layout here and I’ve uploaded the project here. Programming input peripherals whether virtual or physical is very important.
I have a few ErgoDoxes and glad I was able to bring the novelty of it to mobile devices while learning about Apple’s fun new SDKs. There’re a lot of places this custom keyboard can go and I’m eager to try more things with it.
Be sure to check back on my site where I discuss building keyboards IRL as well.